Par 3
 150m
150m 160m
160m 176m
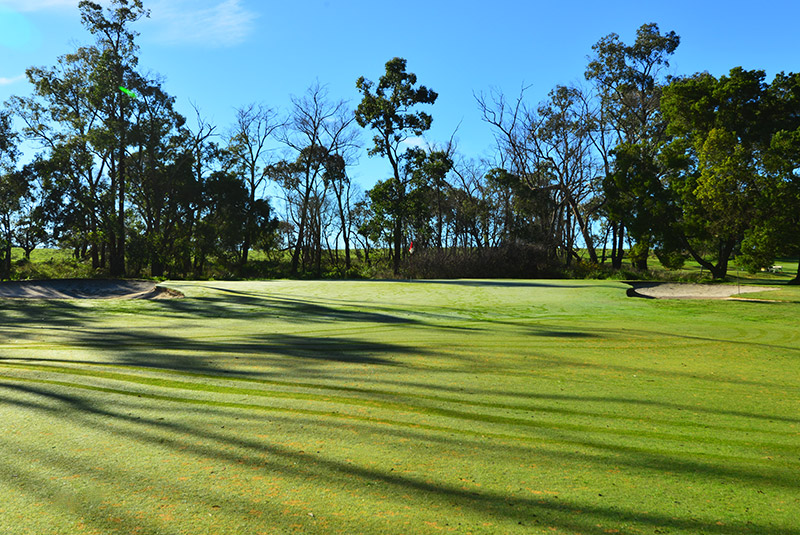
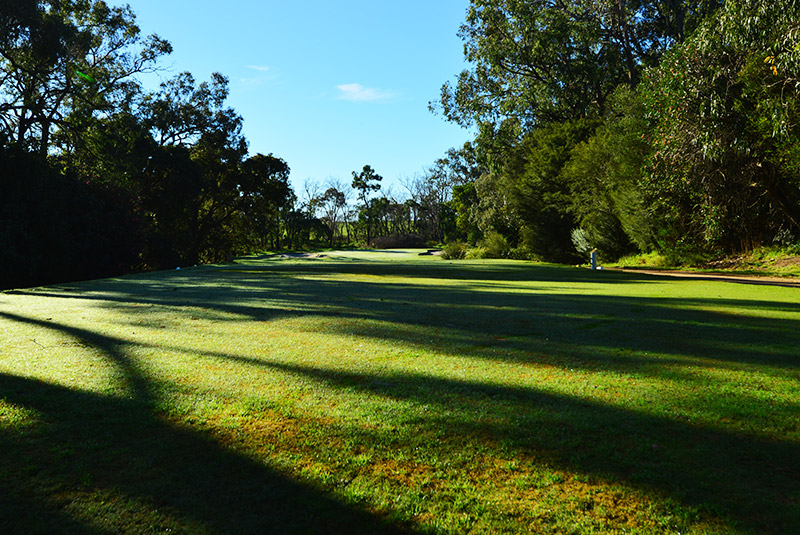
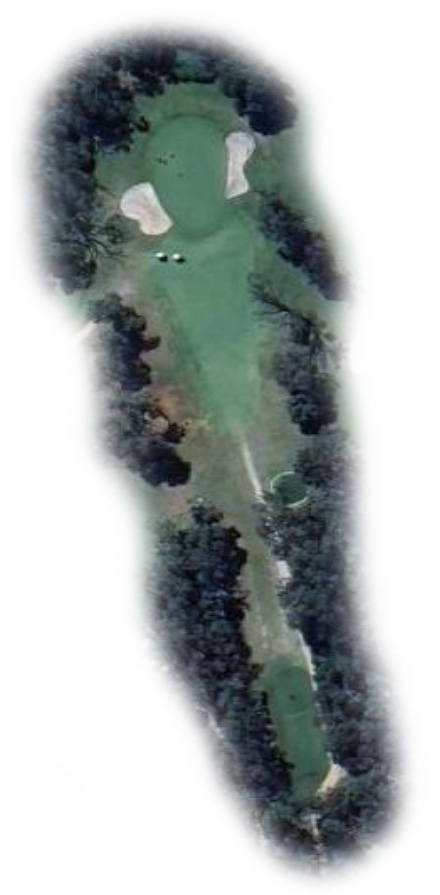
176mThe second hole is the first of Trafalgar's five par threes. This green slopes severely from back to front and is well protected with green side bunkers left and right. The only safe miss here is short of the green. A downhill putt or chip on this green can lead to a big number early in your round.


© Copyright 2026 Trafalgar Golf Club Inc. All rights reserved.